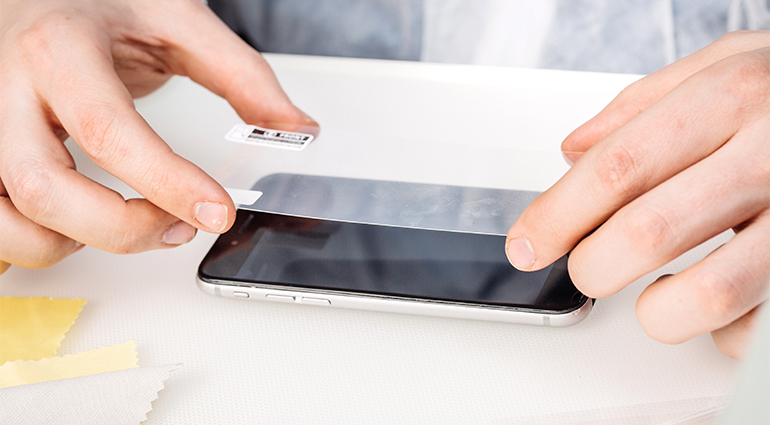
The Easiest Way to Apply a Screen Protector
Applying a screen protector can be tricky, but with the right steps, it becomes an easy and seamless process. Follow this guide to keep your devices safe from scratches and smudges without the hassle.
Step 1: Gather Your Tools
Make sure you have a clean microfiber cloth, a dust removal sticker or tape, and your screen protector. Having everything ready will make the process much smoother.
Step 2: Clean Your Screen
Use the microfiber cloth to wipe the screen thoroughly, removing all fingerprints, dust, and smudges. For stubborn particles, use the dust removal sticker to lift them off the screen.
Step 3: Align the Protector
Peel off the backing of the screen protector carefully. Align the protector with your device’s edges and any cutouts for cameras or buttons. Take your time to ensure it’s properly aligned before sticking it down.
Step 4: Apply and Remove Bubbles
Gently press the protector onto the screen from the center outward. Use a card or your fingers to smooth out any air bubbles, pushing them toward the edges until the screen is clear.
Bonus Tip
For the best results, apply the screen protector in a dust-free environment, such as a bathroom after a hot shower. This minimizes the chances of dust particles getting trapped under the protector.
Remember, a properly applied screen protector not only enhances your device’s durability but also keeps it looking brand new.

